
Refinishing An Old Oak Table
- Aug 23, 2020
- 4 min read
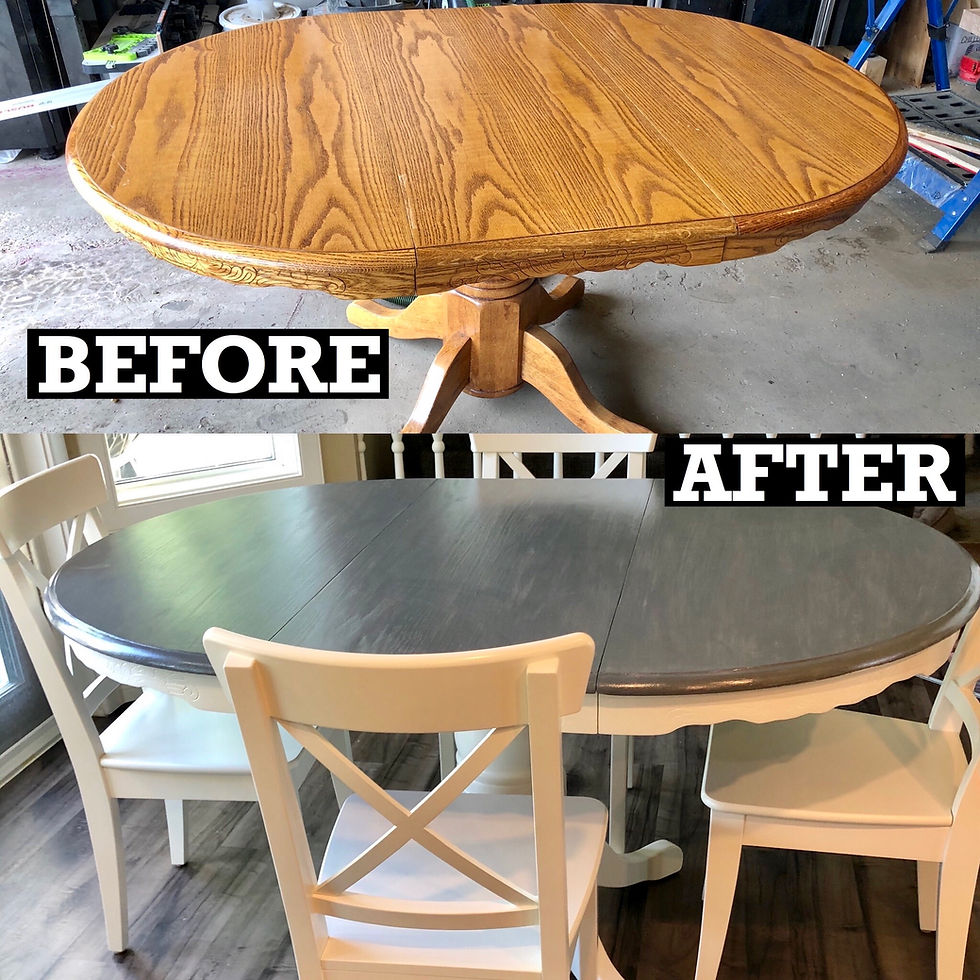
Orange stained red oak was once all the rage, however now these old tables look dated and are in need of a serious update. For our table I knew I wanted to go with a white base and a different colored top. I needed something durable that would stand the test of time and my kids. After searching the internet I decided on a grey stain for the top and to make the bottom portion white.
The Firs thing I did with my table was to lower the legs. Newer tables are about three inches taller than these old tables and since we will be adding new (IKEA) chairs to the table we need to increase the table height to a proper comfortable eating height. To do this I simply removed the bolts from the pedestal base and drilled four new holes two and a half inches below the bottom factory hole. This allows the top bolt to move down to original bottom hole and the bottom bolt to go in the new hole.
The only problem with lowering the legs was it leaves a hole in the base. To hide the old hole I simply bought some half inch plugs from home depot. Using wood glue I glued them in each hole. Once the glue was dry I used wood filler to smooth out the plugs and was ready for sanding.
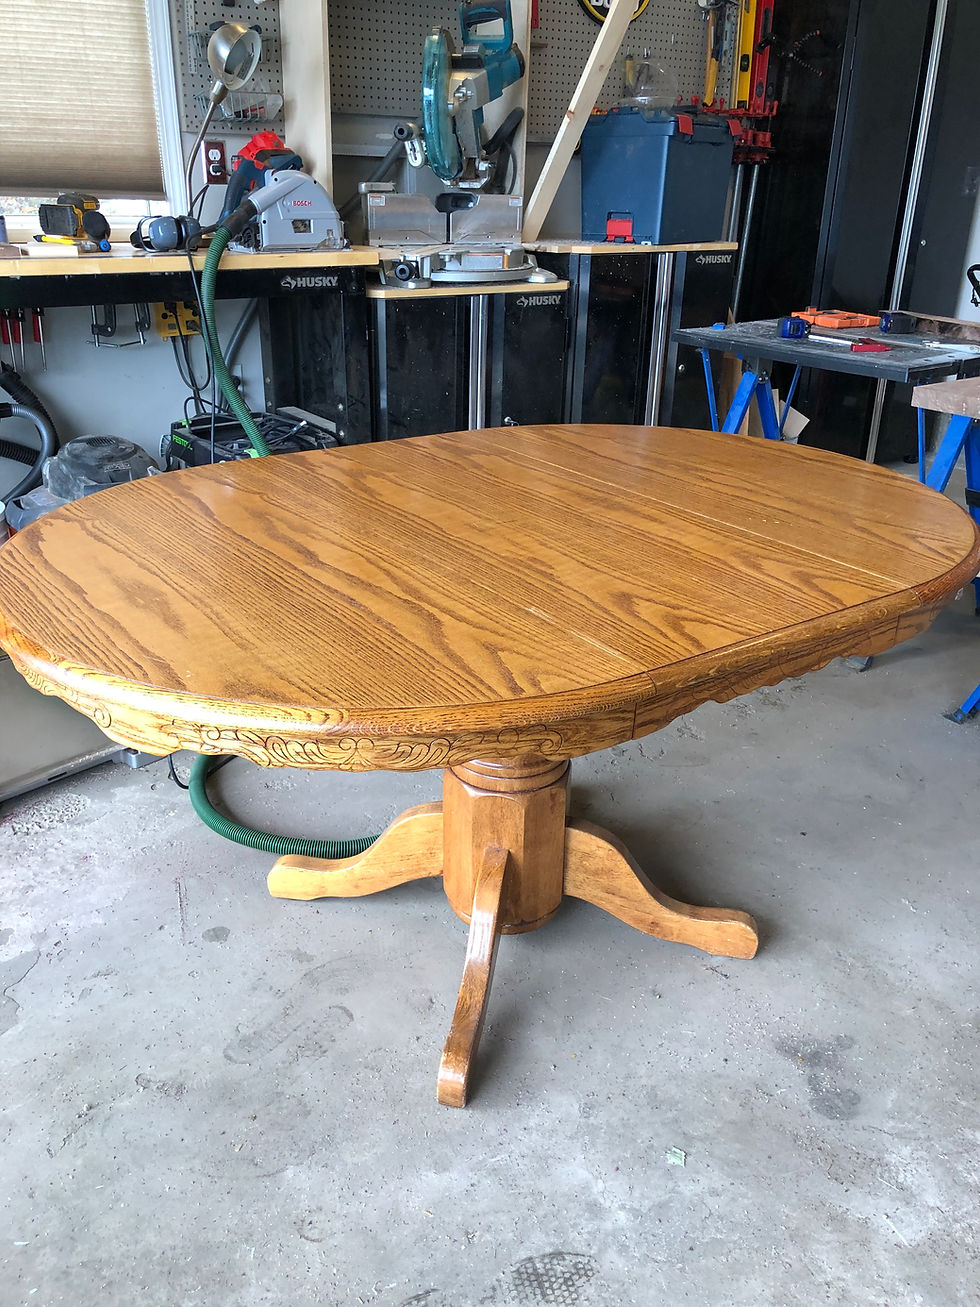
Now the long tedious part, sanding. For the base, legs, and skirt I start with an 80 grit sandpaper and work up to 150 grit. You don't have to sand right down to the wood on these parts, just remove the shiny finish. The primer and paint will cover any old stain left behind as long as the finish is dull.
And now more sanding. The sanding on this project never seems to end and the top is the worst part. Since the table top is going to be stained and not painted it needs to be sanded right down to the wood including removing all the old stain. This is a lot of sanding especially on oak because of the deep grains. This is also where I made my mistake and had to completely change my plan.
Most tables even "real wood" tables are a thin veneer made from real wood. If you sand too much you will end up sanding right through the veneer. That's what happened to me, oops. I thought the table was ruined and I would be hauling it a way. To fix this problem I decided I would try painting the top instead of staining it. Not my first choice but at this point my only choice.
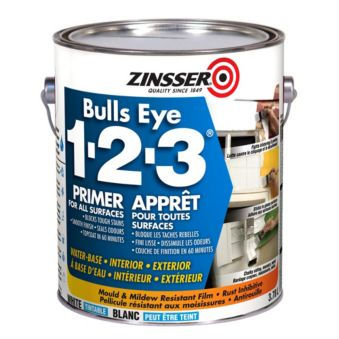
Since the table was completely sanded I primed the whole thing. If you have done better than me and are able to stain the top only prime the base, legs and skirting. I did two coats and primed my entire table using bullseye primer. Make sure you prime! This step cannot be skipped if you try to just paint, the stain will show through.
Once the primer was dry it was time to start painting. I started with the base and left the top for last because I wasn't sure how I was going to paint the top at this point. I matched paint from the off white Ikea chairs we bought and started to paint. Do not use a brush it will leave brush marks and will not give you the smooth finish you need. Use either a sprayer or the more budget friendly foam roller. I foam rolled three coats on top of the base, legs and skirt. Lots of thin coats of paint is the best, this is a high traffic item that takes a beating and the last thing you want is the paint scraping off down the road.


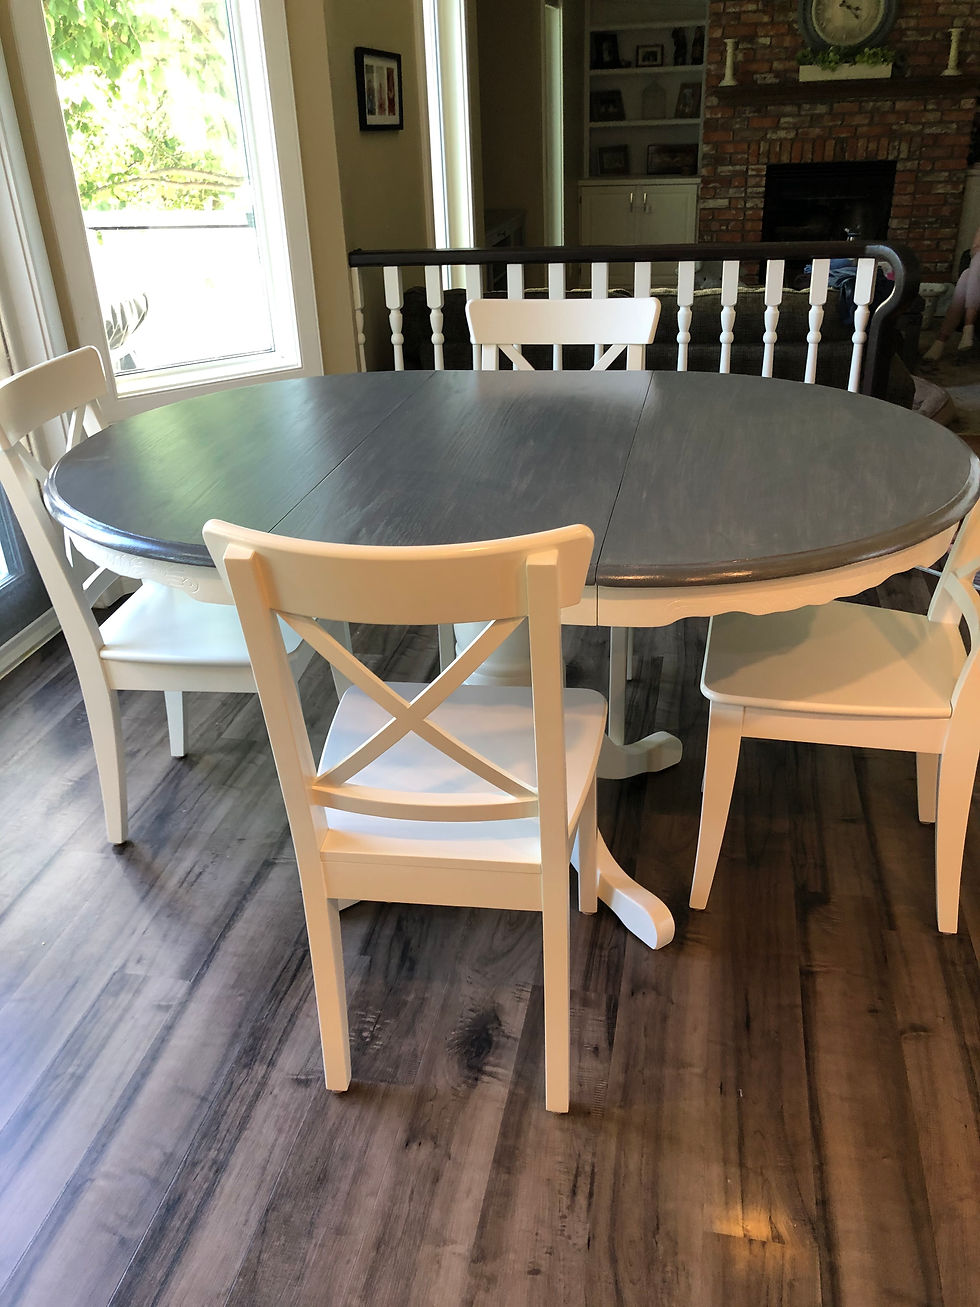
Finally it was time to tackle the table top. At this point I have a fully painted base and a top covered in white primer. I considered using a grey furniture wax to give the top a distressed look. However furniture wax isn't recommended for high traffic areas or something like a table that is regularly wiped with water. I decided to use a paint to create a similar look to wax. I took some grey paint I had left over and with an old T shirt I wiped the paint back and forth across the primer. I dipped the t shirt directly into the paint and wiped with the grain. Basically applying it like wipe on stain. I added more in any thin spots and pushed harder in any deep grain spots that made pools. I separated the table at the extension into three pieces, the paint is being wiped on thin so dries incredibly fast.


Once I was happy with the distressed look and made sure there was no overly thin or thick patches I needed to seal the top. As I said this is a high traffic surface so polyurethane would need to be applied over the painted top. I used General Finishes Top Coat it is a wipe on poly and I applied three layers over several days. Three layers will make sure the top will be durable and easy to clean.

Finally after letting the table off gas and fully cure for a few extra days to be safe, it was time to move it into the dining room. I added the chairs and the table was ready to be used. Although it is not the look I originally wanted I'm pretty happy with how it came out and I know it will last a very long time. Added bonus is I now have matching paint if the table ever did need a touch up.


Comments